Gift Wrapping Guide: Make Every Gift Look Professional
A well-wrapped gift changes the moment before the moment — the pause, the careful untaping, the sense that whatever is inside was chosen with care. The good news: professional-looking wrapping is a set of techniques, not a talent. Here is the complete method, from paper choice to ribbon.
Start With the Right Materials
Three supplies cover 95% of gifts:
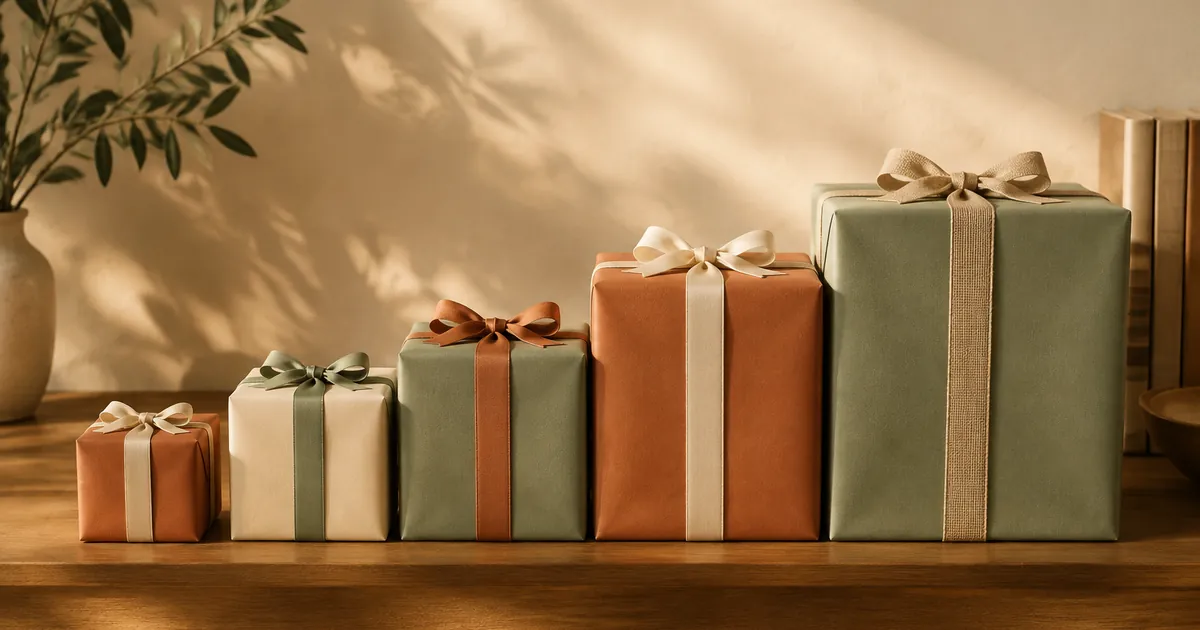
- Paper with some weight. Thin paper tears at the corners. Solid-color craft paper in warm tones — terracotta, cream, sage — looks intentional and suits every occasion.
- Sharp scissors and double-sided tape. The single biggest upgrade for crisp edges: double-sided tape hides every seam.
- Ribbon or twine. One wide ribbon does more than five skinny ones. Cotton twine with a sprig of greenery reads as boutique at craft-store prices.
The Box Method: Crisp Corners Every Time
For boxes (and anything boxable), this sequence produces clean results on the first try:
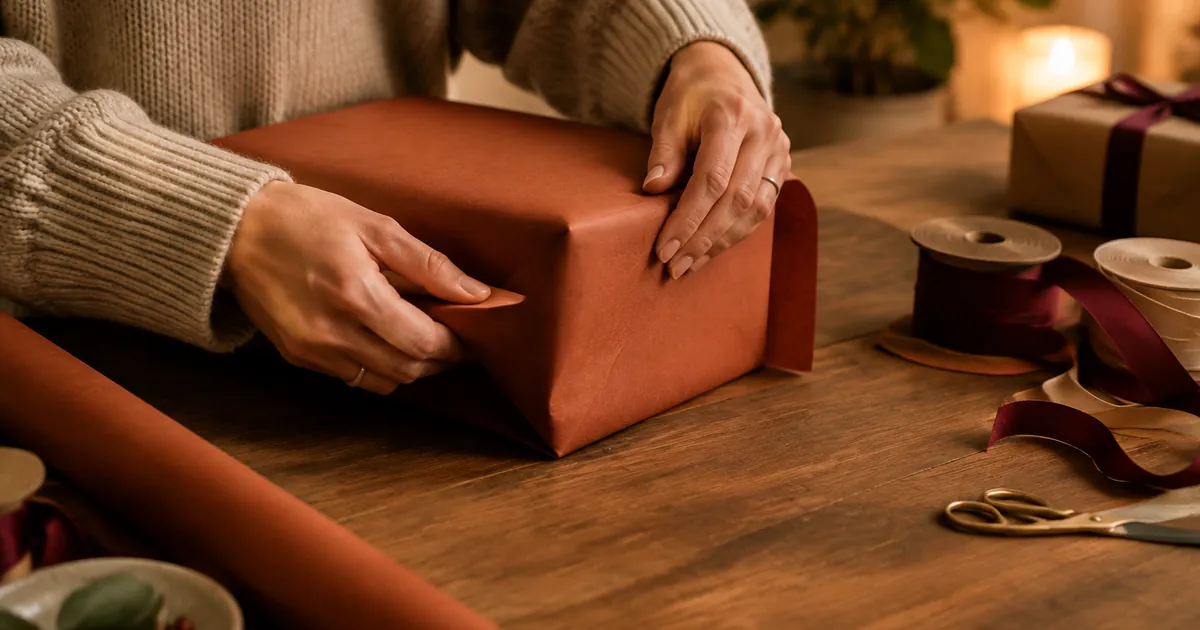
- Measure the wrap: place the box face-down; the paper should reach exactly halfway up each side with a small overlap. Cut once.
- Secure the long sides first: pull the paper taut over the box and fix the seam with double-sided tape along the full edge — not dots.
- Ends last, in an envelope fold: crease the top and bottom flaps sharply, fold the side triangles in, and tape. Sharp creases are what separate "homemade" from "handmade."
- Ribbon last: wrap it around twice if the ribbon is narrow, tie a secure knot, then add the bow. A tiny dab of poster tack under the knot keeps it in place.
Wrapping awkward shapes
For soft goods (a kids' backpack, clothing), use the candy-wrap: roll the item in paper like a sweet, twist both ends, and tie with twine — forgiving and charming. For bottles and decanters, wrap in a fabric square (furoshiki style) and knot at the top; the cloth becomes part of the gift.
The Finishing Touches That Read as Expensive
- Layer textures: matte paper + satin ribbon, or kraft paper + velvet. One contrast is enough.
- Tag with intention: a handwritten tag on plain card stock beats a sticker. Write the recipient's name in pen, always.
- Match the occasion's palette: warm terracotta and cream for hostess and housewarming gifts, deeper tones for holiday gifting. Consistency looks designed.
Make Wrapping Part of the Gift
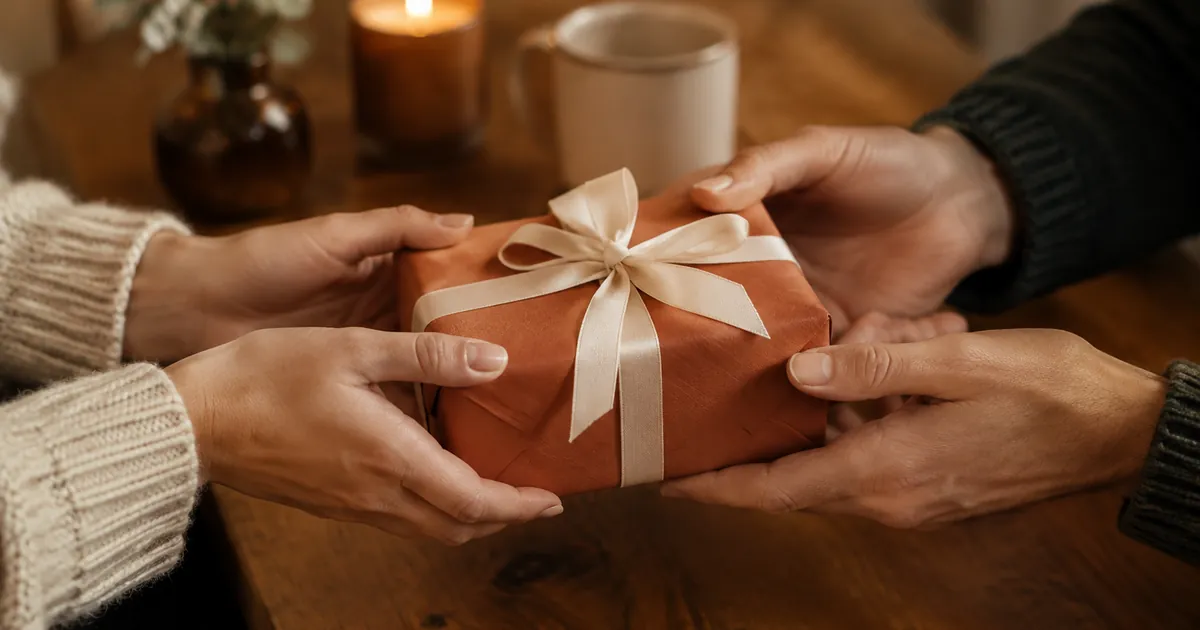
For experience gifts, presentation does double duty — the wrapping is the gift until redemption day. Print the voucher, roll it, and tie it with ribbon; tuck it into a small box with tissue paper. A balloon ride voucher presented in a wrapped box lands completely differently than a PDF in an inbox. Pair it with a small physical item — a coffee sampler for the morning of the flight — and you have a gift with a story built in.
A Five-Minute Wrapping Station at Home
Most wrapping fails for logistical reasons, not skill: no flat surface, tape across the room, ribbon buried somewhere. Set up once and every gift gets faster. Keep a single box with paper rolls (stored upright), scissors, double-sided tape, twine, and a stack of plain tags. Any table works when the supplies travel together — and wrapping five gifts in one session takes a third of the time of five separate sessions.
Sustainable options that still look premium
Kraft paper with cotton twine and a spring of rosemary looks intentional and composts cleanly. Fabric wrapping (furoshiki) uses a tea towel or scarf as the paper — the wrap becomes a second gift. Reuse ribbon and gift bags; nobody checks the bow's provenance.
Wrapping for Different Occasions
- Birthdays: brighter palettes, playful tags, one bold ribbon.
- Holidays: deeper tones — the warm terracotta-and-cream palette shifts toward burgundy and forest green.
- Corporate gifts: restrained cream paper with a single gold or navy ribbon; skip the glitter entirely. More on tone in the corporate guide.
- Kids' gifts: wrap tough (they will not be gentle), skip fragile bows, and consider the candy-wrap for speed.
Frequently Asked Questions
How much paper do I need for a standard shirt box?
A 20-inch square wraps most shirt boxes with room for clean folds. When in doubt, cut generously and trim after the first fold.
What is the cheapest way to make gifts look premium?
Double-sided tape, one wide ribbon, and a handwritten tag — under $10 in supplies, transformative results across a whole season of gifts.
How do I wrap gifts without tape showing?
Use double-sided tape on every seam and place it under folds rather than on visible faces. The seam should always sit on the bottom or back of the gift.
Need a gift to put under that paper? Browse the full catalog — every order ships free.